Creating Replication Endpoints
To replicate image repositories from one instance of Harbor to another Harbor or non-Harbor registry, you first create replication endpoints.
You can also use an endpoint in a proxy cache project. Read more about how to Configure Proxy Cache.
-
Go to Registries and click the + New Endpoint button.
-
For Provider, use the drop-down menu to select the type of registry to set up as a replication endpoint.
The endpoint can be another Harbor instance, or a non-Harbor registry. Currently, the following non-Harbor registries are supported:
- Docker Hub
- Docker registry
- AWS Elastic Container Registry
- Azure Container Registry
- Ali Cloud Container Registry
- Google Container Registry
- Huawei SWR
- Artifact Hub
- Gitlab
- Quay
- Jfrog Artifactory
If you plan to use this endpoint in a proxy cache project, note that they only support Harbor, Docker Hub, AWS Elastic Container Registry, Azure Container Registry, Google Container Registry, and Quay registries. Read more about how to Configure Proxy Cache.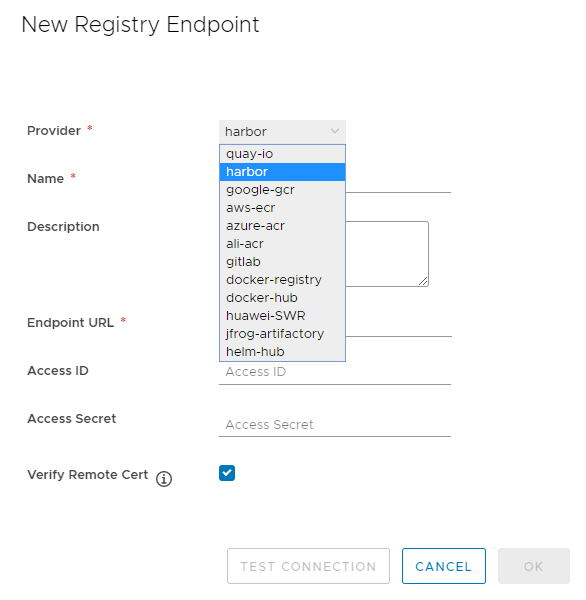
-
Enter a suitable name and description for the new replication endpoint.
-
Enter the full URL of the registry to set up as a replication endpoint.
For example, to replicate to another Harbor instance, enter https://harbor_instance_address:443. The registry must exist and be running before you create the endpoint.
-
Enter the Access ID and Access Secret for the endpoint registry instance.
Use an account that has the appropriate privileges on that registry, or an account that has write permission on the corresponding project in a Harbor registry. See more information about Access ID and Secret Configuration.
If you plan to use this endpoint with a proxy cache project, the access accounts you provide here enables the proxy cache project to pull every image from the target registry that the access account has permission to pull. -
Optionally, select the Verify Remote Cert check box.
Deselect the check box if the remote registry uses a self-signed or untrusted certificate.
-
Click Test Connection.
-
When you have successfully tested the connection, click OK.
Access ID and Secret Configuration
-
AWS ECR adapters should use access keys, not a username and password.The access key should have sufficient permissions, such as storagepermission.
-
Google GCR adapters should use the entire JSON key generated in the service account. The namespace should start with the project ID.
-
Quay Registry
- Supported scope
- Quay.io (cloud version) does not allow to create namespaces (organizations) automaticaly, due to Recaptcha enabled on the Quay.io side.
- RedHat Quay (enterprise on-premises version) is fully supported (tested on v3.2.0)
- Project Quay (open sourced version) is also supported theoretically, but has not been tested yet.
- Authorization
- If you are connecting to a registry without authorization, keep Access ID and Access Secret empty.
- If you are connecting to a registry with authorization, you don’t need to input an Access ID. Harbor uses json_file as the default Access ID. Input your Access Secret in json format, example:
{ "oauth2_token": "YmQZ1QZENVmOD6v9kENzmfptNVhgBuy5oVl85eGV", // optional "account_name": "jack", "docker_cli_password": "q6NVazikNqIf4coiQ+JvV4iqiCpkNjE0DLX8ZMQuFRbkHk5iMv6/hd4WdV3W3nyX" }oauth2_tokenis required only if you want to create an organization automatically.account_nameis your login name. Its not recommended to use a robot account because a robot account can not access different organization’s repositories.docker_cli_passwordis your cli password. You can generate this on the Quay ui page.
Harbor does not support Docker registry manifest schema1 in Quay registries. - Supported scope
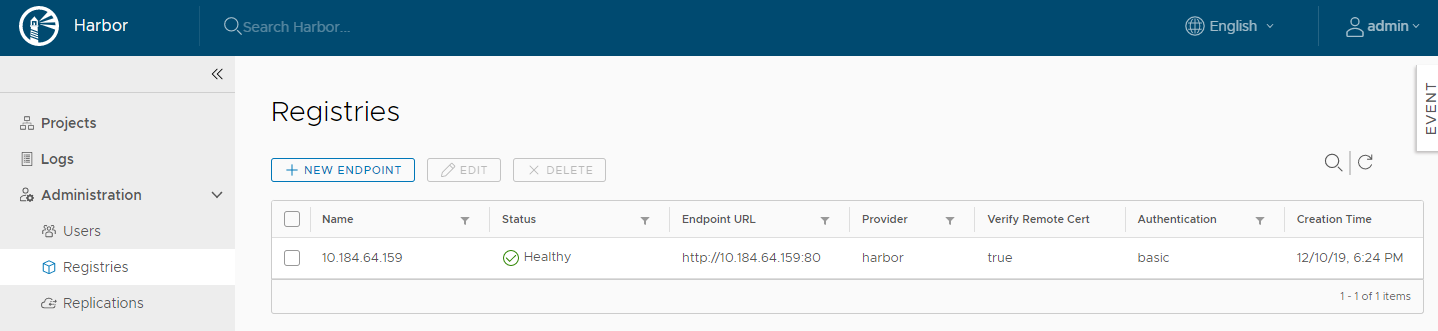
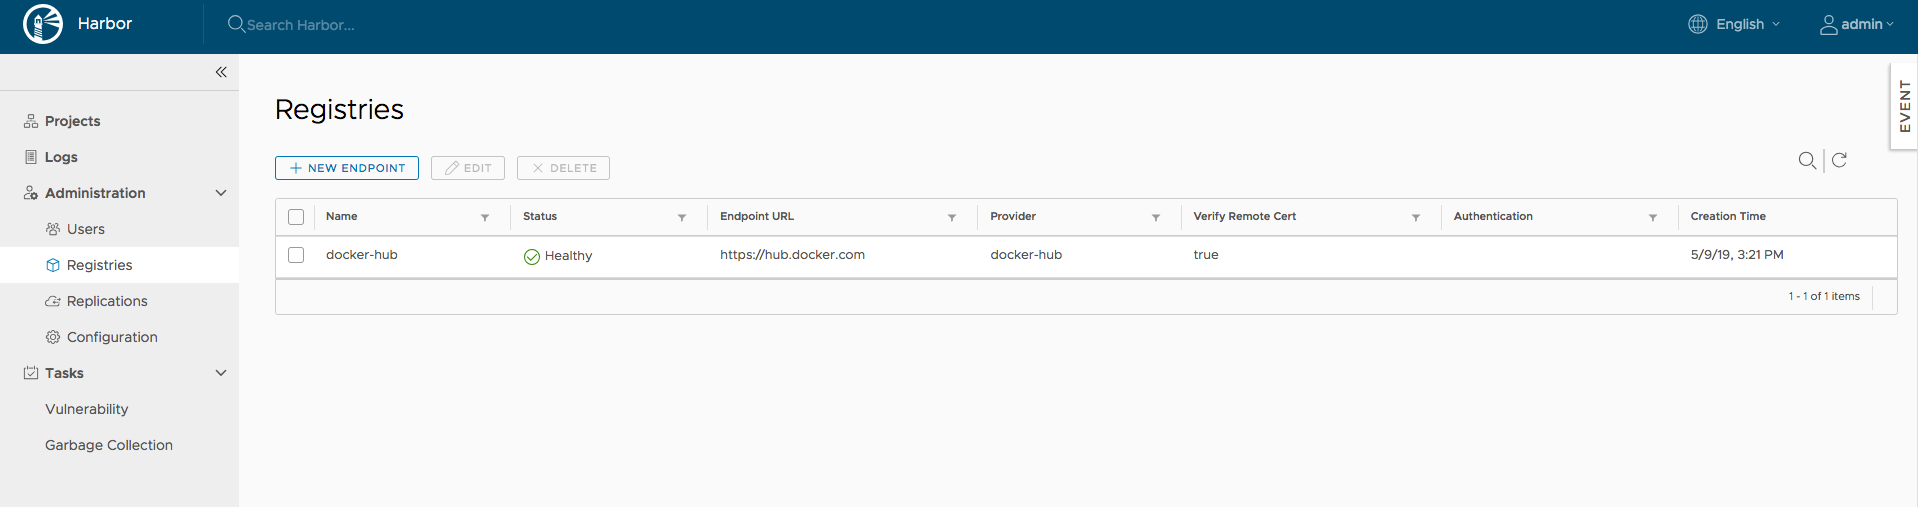
Managing Registries
You can list, add, edit and delete registries under Administration -> Registries. Only registries which are not referenced by any rules can be deleted.
What to Do Next
After you configure replication endpoints, see Creating a Replication Rule.
On this page
Contributing