Assign Users to a Project
You can add individual users to an existing project and assign a role to them. You can add an LDAP/AD or OIDC user to the project members if you use LDAP/AD or OIDC authentication, or a user that you have already created if you use database authentication. If you use LDAP/AD or OIDC authentication, you can add groups to projects and assign a role to the group.
For more information about users and roles in Harbor, see User Permissions By Role.
Add Individual Members to Projects
-
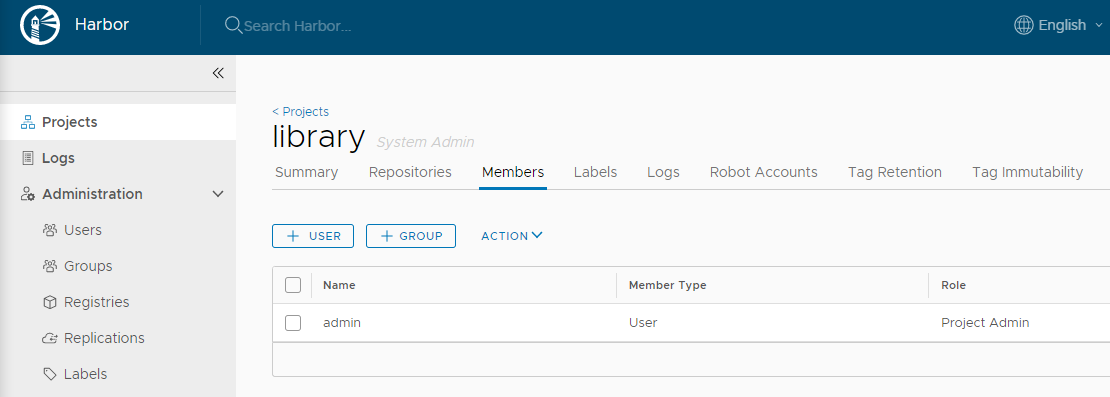
Log in to the Harbor interface with an account that has at least project administrator privileges.
-
Go to Projects and select a project.
-
Select the Members tab and click +User.
-
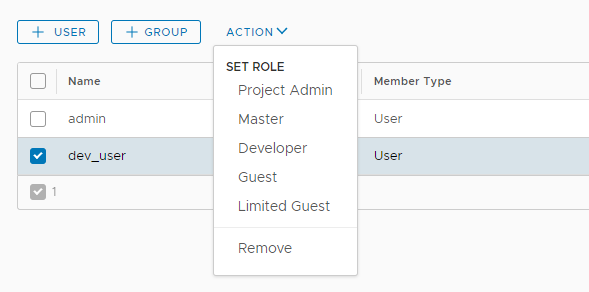
Enter the name of an existing database, LDAP/AD, or OIDC user and select a role for this user.

-
Optionally select one or more members, click Action, and select a different role for the user or users, or select Remove to remove them from the project.
Add LDAP/AD Groups to Projects
-
Log in to the Harbor interface with an account that has at least project administrator privileges.
-
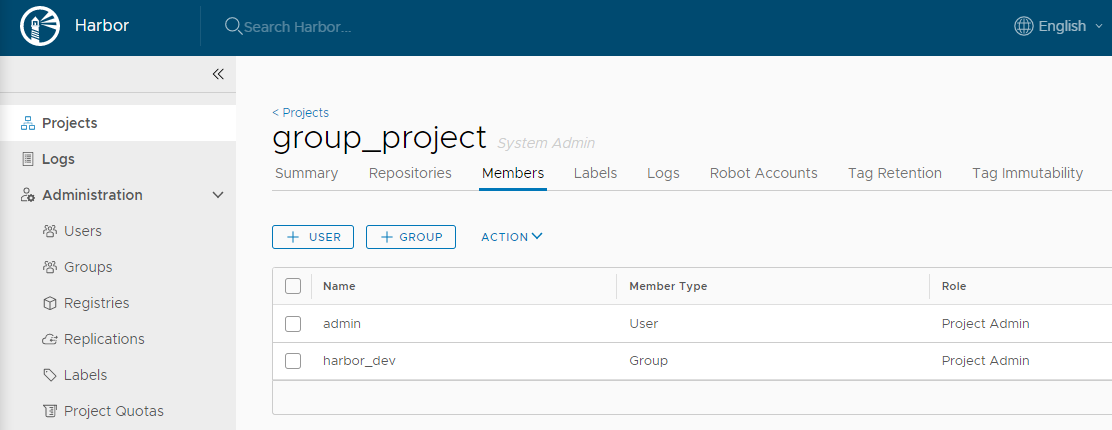
Go to Projects and select a project.
-
Select the Members tab and click +Group.
-
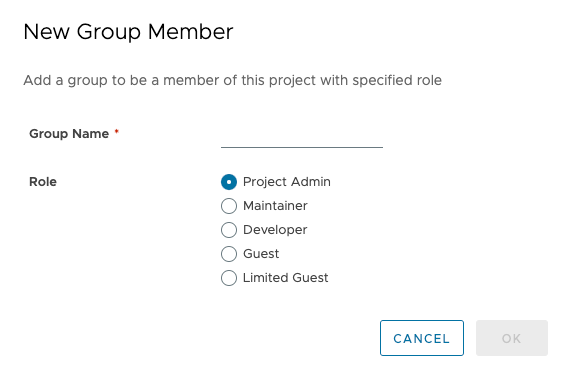
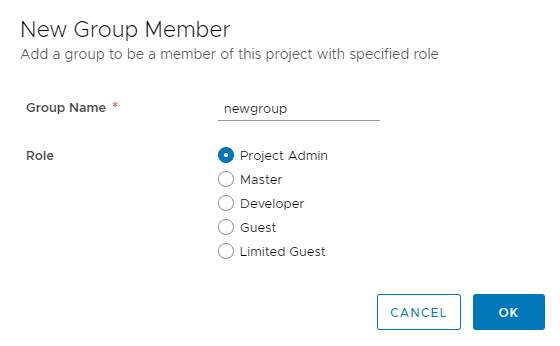
Enter the name of a group that you have already used in Harbor and assign a role to that group.
Once an LDAP group has been assigned a role in a project, all LDAP/AD users in this group have the privileges of the role you assigned to the group. If a user has both user-level role and group-level role, these privileges are merged.
If a user in the LDAP group has admin privilege, the user has the same privileges as the Harbor system administrator.
Add OIDC Groups to Projects
To be able to add OIDC groups to projects, your OIDC provider and Harbor instance must be configured correctly. For information about how to configure OIDC so that Harbor can use groups, see OIDC Provider Authentication.
-
Log in to the Harbor interface with an account that has at least project administrator privileges.
-
Go to Projects and select a project.
-
Select the Members tab and click +Group.
-
Enter the name of a group that already exists in your OIDC provider and assign a role to that group.
On this page
Contributing